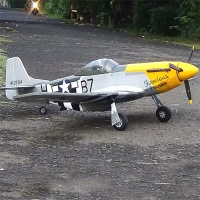
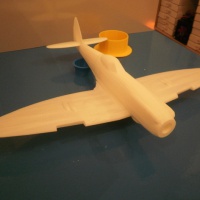
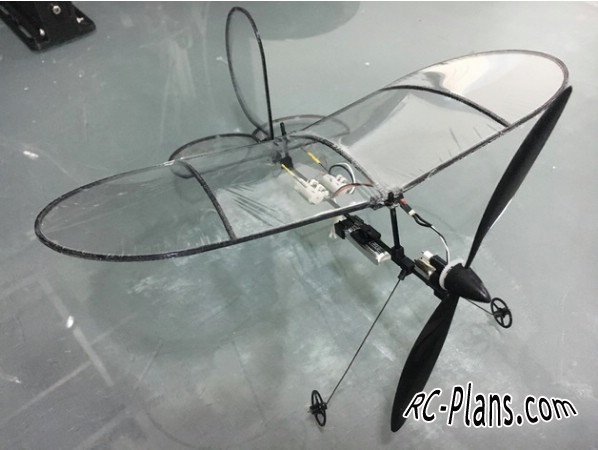
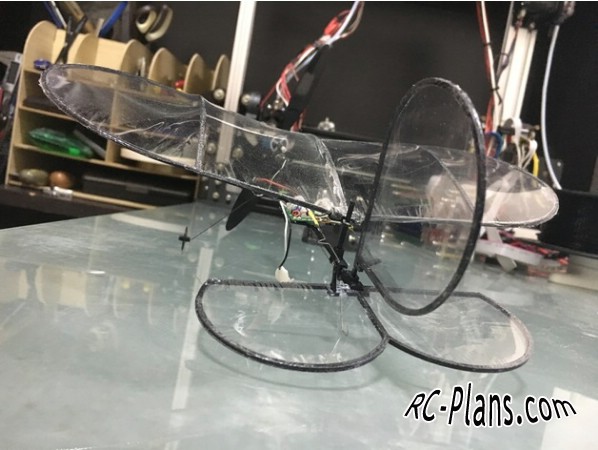
Rewiev: nspired by Parkzone and Eflite's Vapor, decided to design a smaller Vapor with a wingspan of 25cm as my first 3d printed RC plane project.

Things to print:
- 1 x Elevator
- 1 x Elevator horn
- 1 x Rudder
- 1 x Rudder horn
- 1 x Wing Left
- 1 x Wing middle
- 1 x Wing right
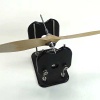
- 1 x Frame
- 1 x Motor mount
- 1 x Surfaces joint
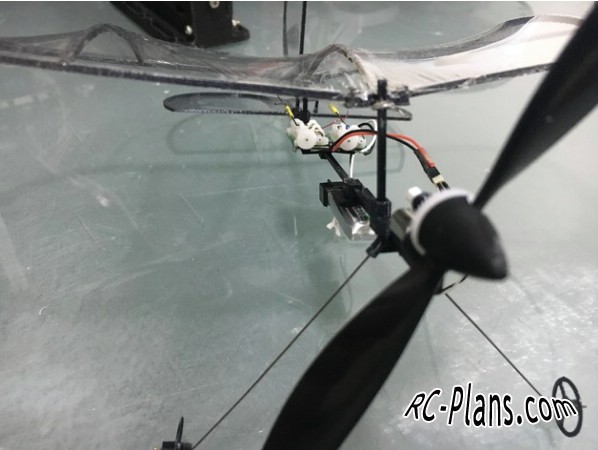
- 1 x Esc/Receiver brick holder
- 1 x Battery Holder
- 2 x Joint
- 1 x Front strut
- 1 x Rear strut
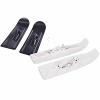
- 1 x Rear landing gear
- 1 x Front landing gear
- 2 x wheel
- 5 x stopper
Things you need to buy:
- 1 x esc & receiver brick, I am using Eflite's UMX Vapor Lite 3 channel esc/receiver brick
- 1 x 6mm brush motor, I am using Parkzone 6mm J3 cub motor
- 1 x Eflite UMX Vapor Lite gearbox (you wont need the motor mount but you need the copper sleeves/bushings thingy, prop shaft and gear) get plenty of spare prop shafts as well as you will probably break them.
- 1 x Parkzone Vapor's propeller 140x45 (get more as spare)
- 1 x Turnigy nanotech 130 mah 1s lipo battery, Can try those 70mah battery however i am not able to find or ship one in locally.
- 0.5mm stainless steel wire
- 0.5mm drill
- Saran/Cling wrap
- 3M 77 spray adhesive
- 1mm or smaller heatshrink, Just heat and squeeze
- Medium CA glue
- Hot glue gun
Tips on printing and post printing:
You will only need support for the wings so as to slow down the prints to allow enough cooling. Becareful when you remove the supports from the wing as to not break it or stab yourself.
The tolerances are made for my tevo tarantula and may differ from yours. If the frame is too big you can sand it down and if it is too small you can put some CA on it without the parts attached first so that you can slide the joints and battery holder around to find an ideal position. You will need to glue down parts such as the esc/receiver holder.
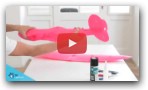
The wings and surfaces are wrapped with Cling wrap and using 3M 77 spray adhesive. You would want to attach one side of the wing to the middle and wrap it then attach the other side and wrap the other with a little of overlap in the middle. Use a heatgun with caution to shrink the cling wrap.
As for the surfaces joint you will need a 0.5mm drill to drill the holes properly out to ensure the 0.5mm stainless steel wire rotates freely.
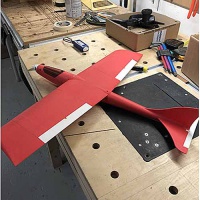
PS: please pardon the workmanship as this is the first rc plane i have build in years.
Cheers,
Thinking of making one with ailerons, any ideas how to would be good!