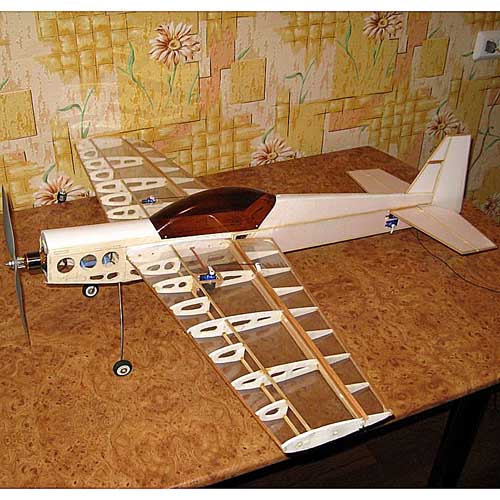
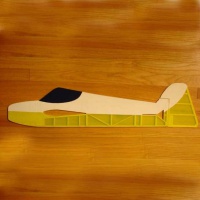
For the manufacture of this aircraft model, we do not need any special materials such as balsa, coal or carbon. We will manage the «past» material. We prepare the ceiling tiles, light plywood (from the boxes from under the lemons), sawing pine slats of different lengths and cross-sections, we use PVA glue.
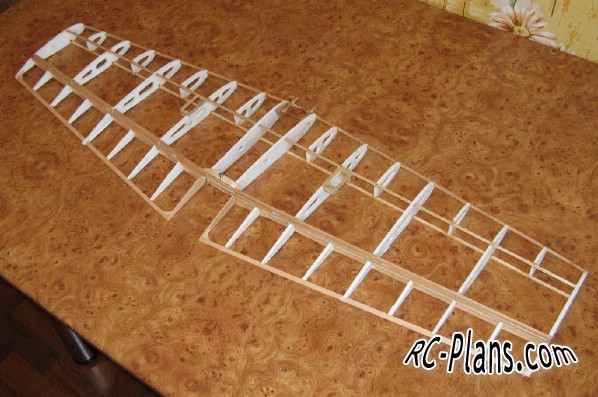
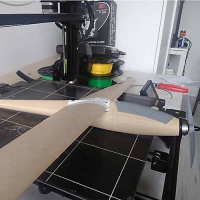
A profile for wing ribs was used with constant relative thickness over the entire span. A thin and less bearing profile is located near the fuselage, so the corkscrew characteristic of the wing and the aircraft as a whole becomes softer.
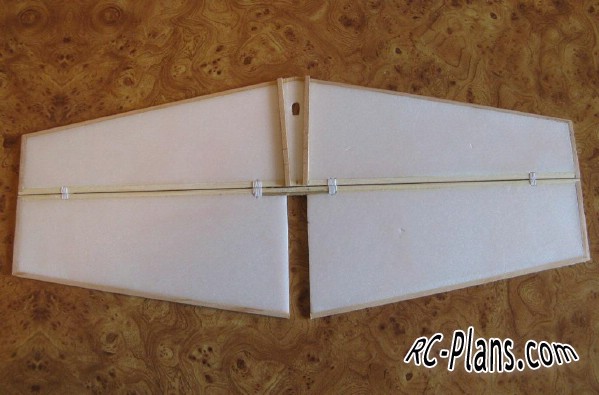
In the center section, we glue two round bamboo slats for fastening to the fuselage. Mounting to the fuselage occurs at three points. The front of the wing is stuck in the second frame, and the rear is attracted by the M3 screw. As practice has shown, the fuselage, in the place of attachment of the wing, can withstand all flying and even some non-flying loads. Tighten the wing with mylar film on the glue Moment «Crystal». Do not forget to glue the ribs with paper so that the glue does not eat them.
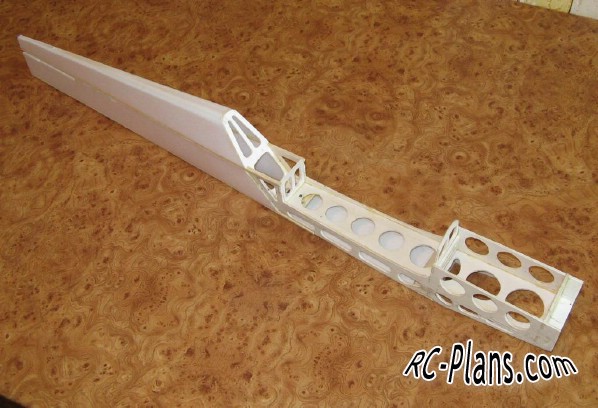
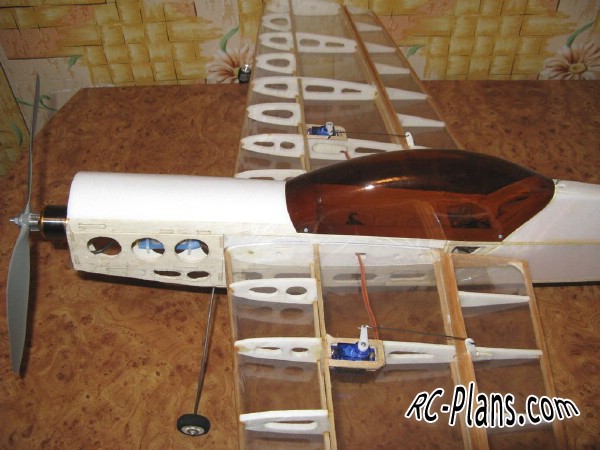
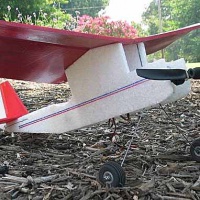
The fuselage consists of a power unit that extends from the front frame to the trailing edge of the wing. This part resembles the letter H when viewed from the front. We will have a lantern at the top, and close with foam at the bottom.
Next four slats and a ceiling. There are three and a half frames in the fuselage. First, power — for mounting the engine. The second, also not in vain — the front part of the wing is attached to it, the landing gear rests on it, and it turns out that it perceives the “lion's share” of all flying and non-flying loads. The third, half — for it is attached to the rear of the wing with an M3 screw. One more inclined frame. At the top of this frame is a latch for attaching a flashlight. A necessary thing has been done for the quick removal of the flashlight when replacing the batteries. The latch is elementary simple. Instead of a special one, from a store for 300 rubles, we made it from steel wire, which was bent in a special way and fixed on a frame.
Pay attention to the relief of plywood, although it is light, but not so much. Moreover, this must be done correctly so as not to weaken those places where it is not necessary.
The upper part of the fuselage with a lantern has a base of the same plywood. The upper part is made from the ceiling, having previously bent it. It is very convenient to bend the ceiling on a metal pipe preheated to the required temperature. The entire removable part is attached by the front for the first frame, and the back for the latch on the last frame.
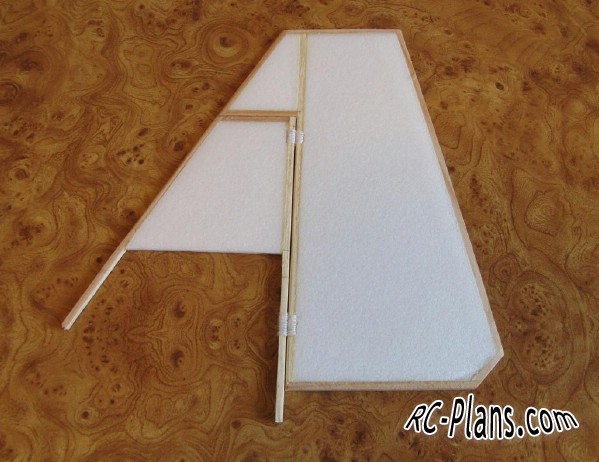
The tail manufacturing technology is very simple — a ceiling edged with slats. I will note one point. It is necessary to strengthen the connection of the halves of the elevator. We did this by gluing an additional bamboo rail. A hinge of rudders on hinges of thread.
Glue the stabilizer and keel into the fuselage only when the wing is ready and screwed to the fuselage. Only in this case can we achieve perpendicularity and parallelism, the importance of which I will not speak to you additionally.
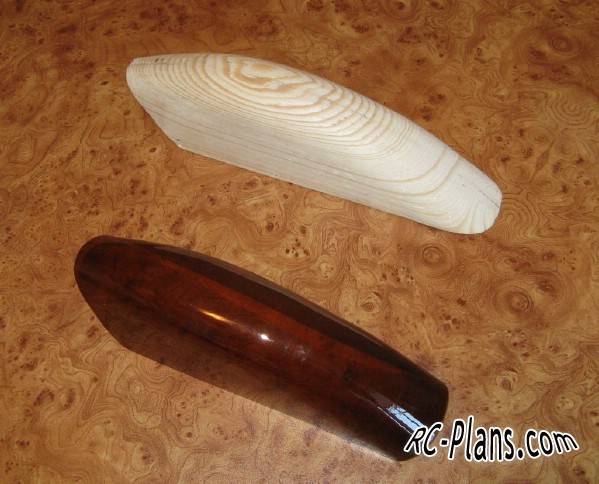
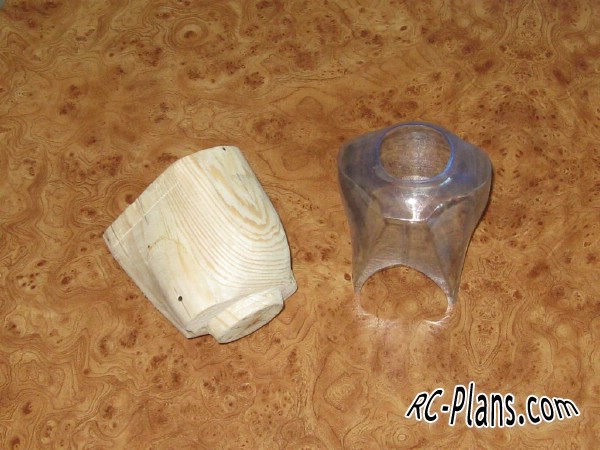
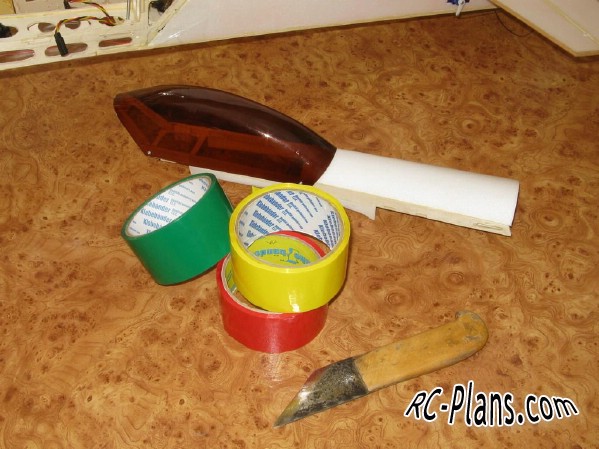
We make a hood and a lamp using the same technology. First of all, we make wooden doodles in the form of future products. Then we select a suitable plastic bottle in color and capacity. For some reason, it turns out that beer containers are most suitable :) We place the blanks in bottles and squeeze them with a building hair dryer, in extreme cases, on a tile or in the oven. Then we cut out the part we need with a knife. With sufficient skill, it turns out very well and the first time.
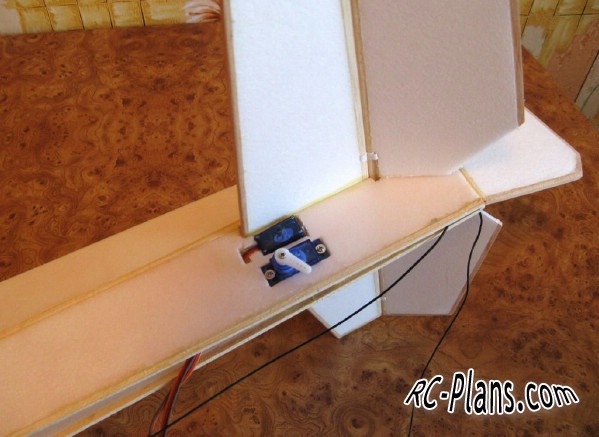
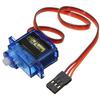
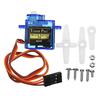
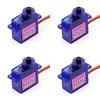
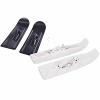
Dlya rulya vysoty i rulya povorota my ispol'zuyem plastmassovyy ugol, chtoby maksimal'no zakrepit'sya na penoplastovom rule. Razmery kabanchikov zavisyat ot razmera kachalki servomashinki i zhelayemogo ugla otkloneniya ruley. Tak kak otkloneniye ruley khvostovogo opereniya v maksimume sostavlyayut 45 gradusov, kabanchik imeyet takoy zhe razmer, kak i kachalka servo. Sootvetstvenno na eleronakh kabanchiki na 1/3 bol'she, tak kak tam ruli budut otklonyat'sya na 30 gradusov.Zakreplyayem servo na kryle, khvosty vyvodim v tsentroplan. Servomashinki khvostovogo opereniya ustanovleny po obe storony fyuzelyazha. Odna upravlyayet rulem vysoty, drugaya rulem povorota. Vse khorosho vidno na fotografiyakh. Dlya etikh servo nam ponadobyatsya dva udlinitelya.Развернуть711/5000For the elevator and rudder, we use a plastic angle to maximize our grip on the foam rudder. The dimensions of the hogs depend on the size of the rocker and the desired steering angle. Since the deviation of the tail rudders at a maximum of 45 degrees, the hog has the same size as the servo rocker. Accordingly, on ailerons the hogs are 1/3 more, since there the rudders will deviate by 30 degrees.
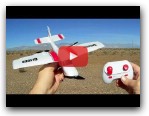
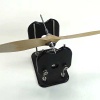
We fix the servo on the wing, the tails are displayed in the center section. Servos of the tail unit are mounted on both sides of the fuselage. One controls the elevator, the other rotates. Everything is clearly visible in the photographs. For these servo we need two extension cords.
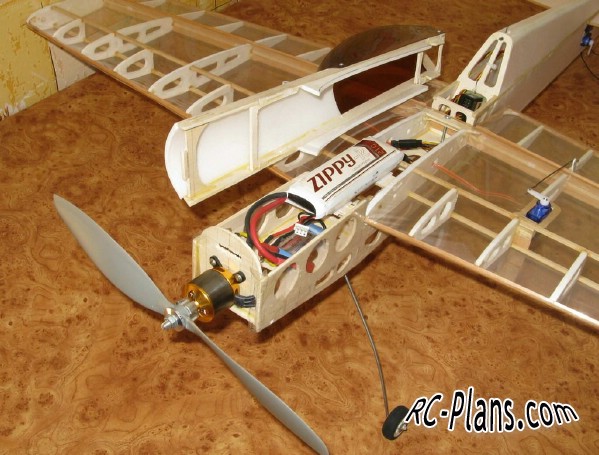
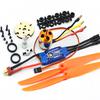
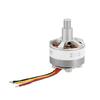
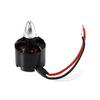
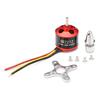
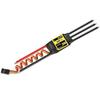
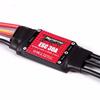
We fasten the electric motor to the front frame. In the cavity between the first and second frame we fix the regulator.
In order to understand where we need to install the battery, we collect everything to the heap. Moving the battery along the fuselage, we are looking for the position at which the center of gravity of the model will be located along the wing spar. Ideally, the battery should be located in front of the receiver in the center of the fuselage. We didn’t succeed. The alignment went back, so the battery had to be moved forward. And there is no place! I had to glue two pads for mounting the battery. The first on the second frame, the second on the wing spar. According to the experience of further operation, it turned out to be a pretty decent solution.
Now you can stick the bottom of the fuselage with foam. But there are two points to consider. The first — do not forget to fix the wires from the steering machines in the fuselage, the second — we cut a hole for air to exit in the middle of the fuselage.
We fix the lantern and hood with the help of small self-tapping screws extracted from old Chinese toys. It is advisable to mount the hood after the plane has flown around and the engine has been mowed. Then everything will be smooth and beautiful.
Single rudder steering deviation:
Ailerons — 15 °
Elevator — 15 °
Steering wheel — 35 °
The exponent is negative — 30%
Double rudder deflection:
Ailerons — 35 °
Elevator — 45 °
Steering wheel — maximum permissible or 45 °
The exponent is negative — 60%
It is very useful to check and adjust the extreme points of the course of the rocking machines of the steering machines so that the steering surfaces are bent on both sides equally by the same degree.
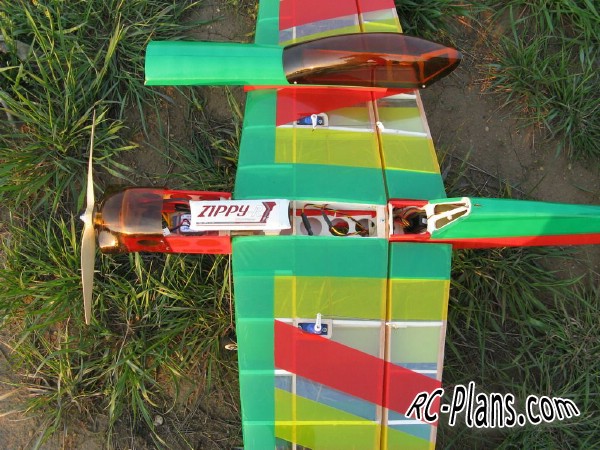
To give a unique appearance to our aircraft, as well as to protect the ceiling from harmful effects, we fit the model with colored tape. I want to note that, plus for aesthetic reasons, correctly applied adhesive tape gives additional strength to parts made from the ceiling. No need to neglect this.
After covering with tape, it’s useful to go through all the details with an iron. The film will stretch and stick much better. Be careful with the iron, if you go too far with the temperature, the adhesive tape will melt. It can also warp the steering wheels. It is better to select the temperature experimentally on a piece of the same ceiling pasted with the same tape.
Before tight-fitting, it is advisable to consider the color scheme and appearance of your model. In the course of action, this will make it much more difficult. Covering the wing with colored tape, has a purely aesthetic component.
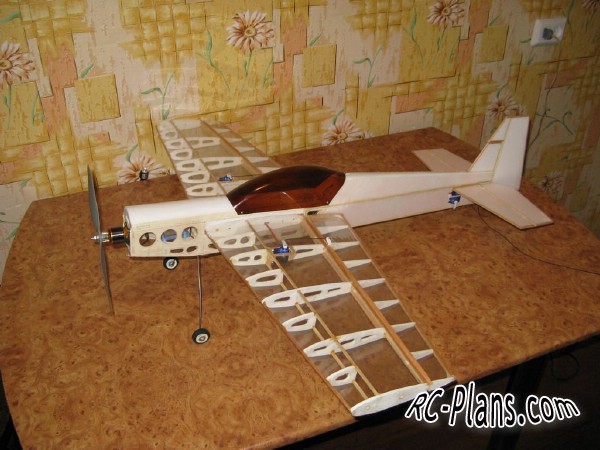
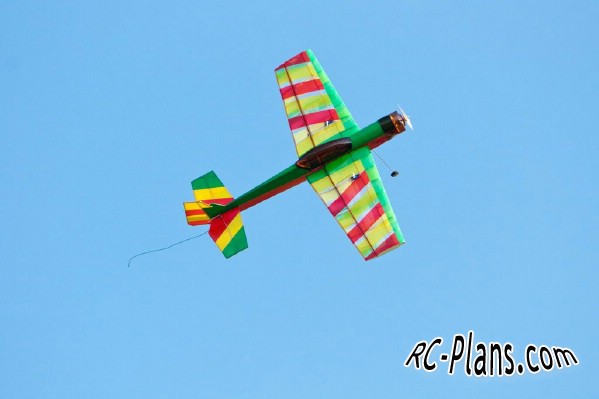
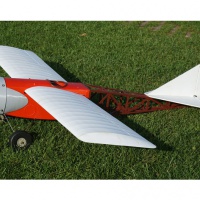
This model allows you to perform almost all aerobatics. Flying in the forward and reverse flight is exactly the same, with a little back centering, the model in the return flight flies without support from the elevator! The barrels are flat, round loops. The aircraft fulfills its task as the second train, completely. It turned out to be very convenient to carry the plane with you in the trunk. You can fly up at any time.