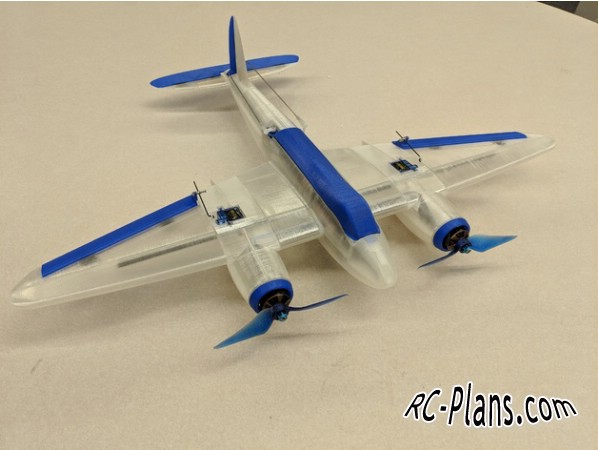
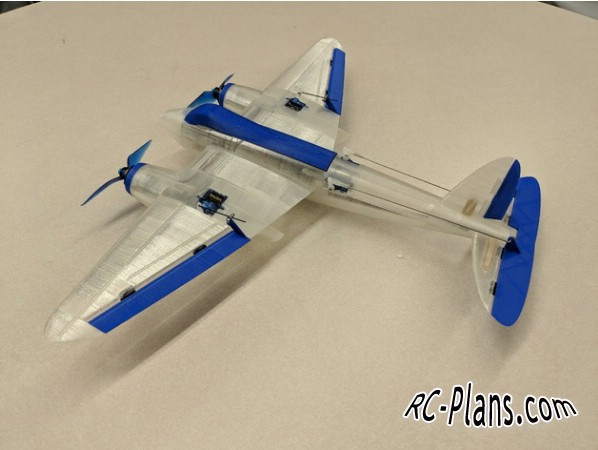
The general idea with this design is that the parts are printed hollow. Using more than one perimeter layer will add weight and is not needed, stick to one perimeter layer.
Temperature should be high (210c for PLA) and the fan should be off except for bridging and the top of thin parts. This will help layer adhesion, and is important for strength.
Nozzle: 0.4mm
Layer height 0.2mm
Retraction: 1.8-2mm, with 0.2mm extra restart distance. Only retract while crossing open spaces MUST be OFF. ALWAYS retract.
Infill: 0% unless specified. Only a couple of parts have infill.
One perimeter, support where needed.
Most of it is designed to need no support, having 45deg bridging or very short bridging.
Check parts like wings, and hatchtop, as these have hollows underneath which need support. Support from bed only, is recommended.
Most parts have at least 2 bottom layers, top layers depends on the part. Use brim as you see fit, the ailerons will need some for sure.
I think 2 bottom layers is right because it adds strength, for not much extra weight, and makes a nice bulkhead between sections, effectively strengthening the open top of the previous section. I left the ends of the support ribs open, allowing me to insert small joining dowels/pieces, thus aligning and holding the sections together.
Print settings for each part:
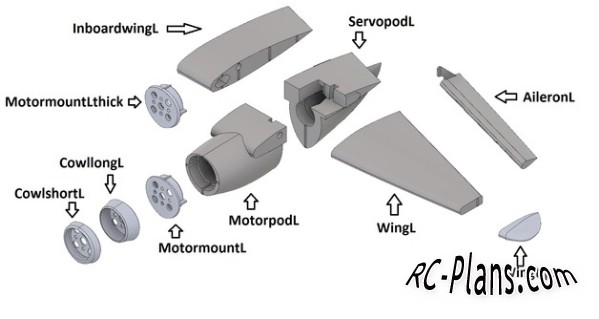
Motor cowls have a 1.5mm base, so at least 5 bottom layers, and 2 top, to make the base solid. Short cowls allow you to grip the motor easier while changing props
Motor mounts print solid, if you use the thick motormount, you dont use cowls as the base is 3mm thick.
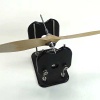
Motorpod, use at least 2 top and 2 bottom layers, the top is thin and has bridging supports so should be fine. (worked ok for me) This part has a lot of strength as it holds the motor and will take most of the impact during landing.
Servopod needs 2 bottom layers. Enable support from bed for the servo space. You should get away with no top layers, as the top is quite pointy, just check the slicer results to be sure.
Wing, 2 bottom layers and no top. The top is open. Support for the small hollow underneath.
Inboard wing, same as wing.
Ailerons may use up to 7 bottom layers and at least 2 top layers, or 6 bottom and 3 top, this makes the servo control horn solid as it is 2mm thick. Because the first layer is 0.3mm, a total of 9 layers should be enough. You will need some brim to hold it up.
Wingtip, 2 bottom layers and 2 or 3 top. as long as you can get it to close up on top the minimum layers possible is best. Being a small part this is easy to experiment with.
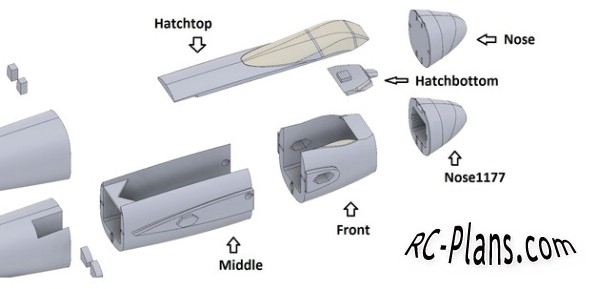
Nose, 2 bottom layers and 2 or 3 top, like the wingtip, its just as long as it closes up and looks ok.
Front was originally designed to have about 3 or 4 bottom layers, but it doesnt really matter, 1 or 2 would be fine. No top layer.
Middle, this is the part that holds the wing spars and i think it needs at least 4 bottom layers. This makes the bulkhead and reinforcing strong. No top layer. Middle has short enough holes for the carbon tube to enable you to easily remove the support afterwards, if you want support in there.
Hatch top and bottom need support enabled. Minimum infill and top layers to achieve a nice looking surface. I used 10% and 3 top layers, 2 bottom and 2 perimeter. If you can do it with less, it will be lighter. The angled cutout at the rear of hatchtop is for magnets.
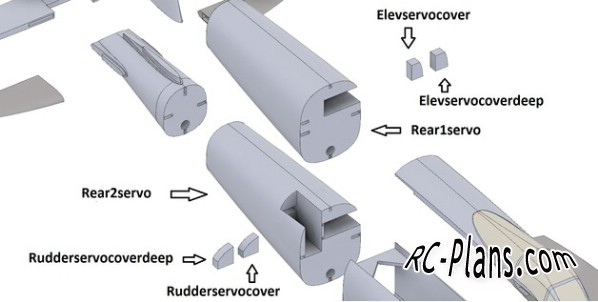
Rear1servo is for no rudder, elevator only. Yaw can be applied with differential thrust. Rear2servo is for a rudder tail. Enable support for the servo cutout, and 2 bottom layers with no top. I think a rudder srevo will make it tail heavy, probably best to keep it simple and have no rudder.
The little blocks that fit over the end of the servos- elevservocover and rudderservocover, i have not printed these yet. The goal is minimum weight with a good looking exterior surface.
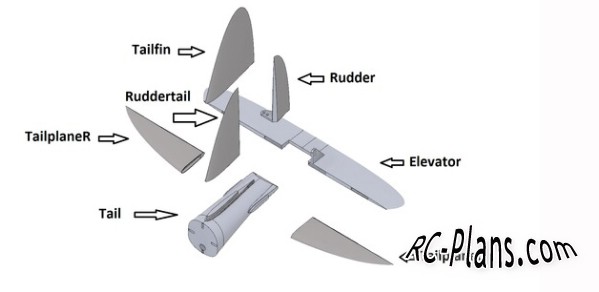
Tail has 2 bottom layers and one top. I may develop this part to allow a paddle pop stick to brace the tailplane from inside. Depends if it needs it, we will have to fly it and see.
Tail and tailplanes, 2 bottom layers, and no top layers are needed as they are quite pointy. Rudder needs no support, but it needs that total of 9 top/bottom layers like the ailerons.
Elevator, enable support, 2 bottom layers and 1 top. It wouldnt need a top layer except for the servo control horn needs to be strong.
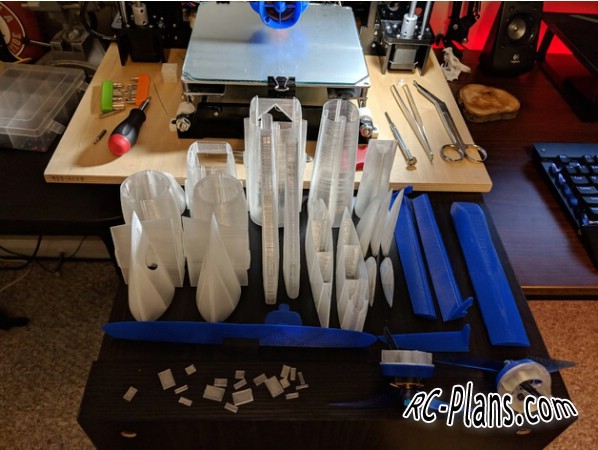
Post-Printing
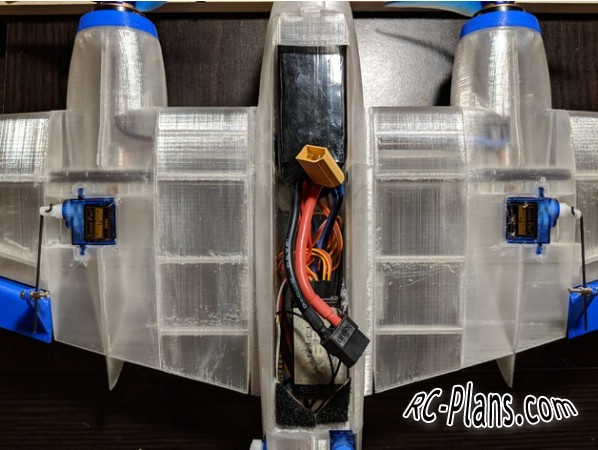
Assemble the motors and esc's first. Im putting the esc's in the motorpod, there is a duct for cooling. Make sure you have enough length on the cables to make it into the fuselage. Dont forget to center your servos.
Run the cables through the duct in the wing into the fuselage. Do the same for the servo cable.
When assembling the fuselage, glue the joiner pieces in the open ends of the reinforcing ribs, to align and strengthen the plane. The wingtips use these to join to the wing.
If you have trouble inserting the carbon tubes, drill the holes very carefully with a 6mm bit. Put the drill on screwdriver mode and reduce the clutch to the minimum, hold the piece so you can let go if the drillbit catches. Drill slowly.
Good luck, and dont forget to leave some feedback if you have any ideas for improvement.
Electronics:
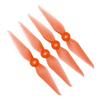
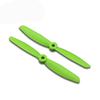
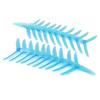
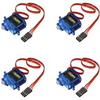
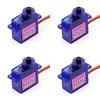
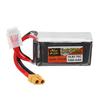
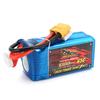
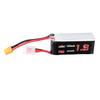
KINGKONG/LDARC 2204 2300KV Brushless Buy: , Racerstar Racing Edition 2204 Buy: , HTIRC Hornet Series 12A Buy: , EMAX BLHeli Series 6A Buy: , 2 Pairs Original Racekraft Buy: , KINGKONG/LDARC 5040 Propeller 10 Buy: , 10 Pairs GEPRC 5040 Buy: , 4 X SG90 Mini Buy: , 4 X SG92R Mini Buy: , ZOP Power 14.8V 1300mah Buy: , AHTECH Infinity 4S 14.8V Buy: , Giant Power Dinogy 1300mAh Buy: , URUAV 14.8V 1300mAh 70C Buy: ,
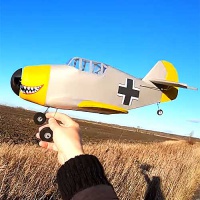
To not immediately crash the balsa wood wing I am building, I decided to make a foam delta wing of similar size and weight to get a good hang of flying
Today we made a flying model of the battle bus from fortnite! It ended up being more of a blimp rather than a hot air balloon but propane regulators at that size would be hard to find, nevermind...