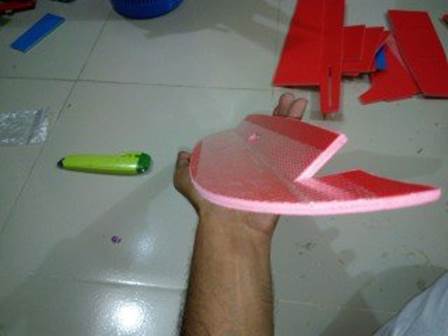
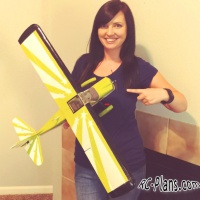
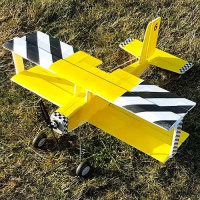
Almost every fixed wing rc hobbyists know about BIXLER series RC Planes from H.King. It's a great platform for short range fpv with a decent flight times and has a very forgiving flight characteristics. I wish to have one but for a scratch builder like me, it's expensive; you know. So I have decided to make a depron board clone of it and here is the result.
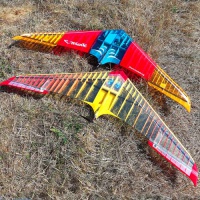
This article describes my building plan and steps. I've got many requests to declare the PDF Plan after sharing my images. I have made 2 units of this design and the first one flew good. Then I took the challenge to bring some portability on it with some weight gain -as a tradeoff. But I will not mind as I got 19minutes+ flight time from the first one. So I can expect at least 14min. from the second. Here is the summary of my first build.
AUW : 680g
Wing span : 58"
Electronics:
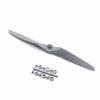
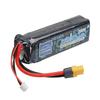
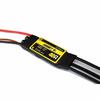
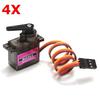
XXD A2212 KV2200 Brushless Buy: , 6040 6x4 DD Direct Buy: , Helios 11.1V 2200mAh 3S Buy: , HTIRC Hornet 2-6S 40A Buy: , 4 X MG90S Metal Buy: ,
Building Steps:
I will be sharing enough detailed pictures rather than describing. I think an image saves many words. So follow the images carefully. You can do it if you have prior knowledge of building with deprons. I will not recommend this plan as your first build. Don't take this design to get into hobby.
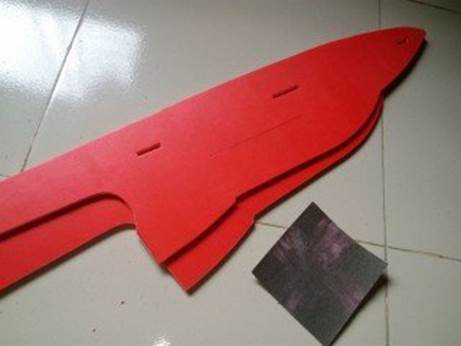
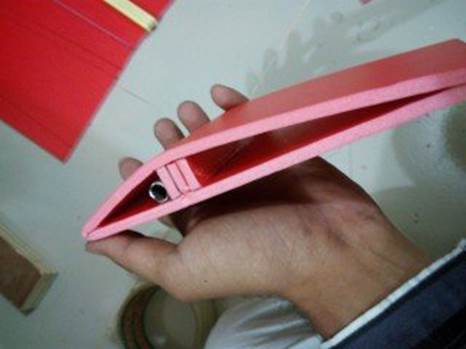
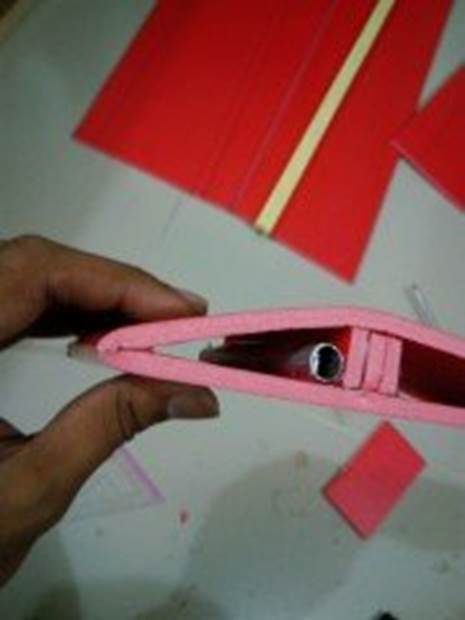
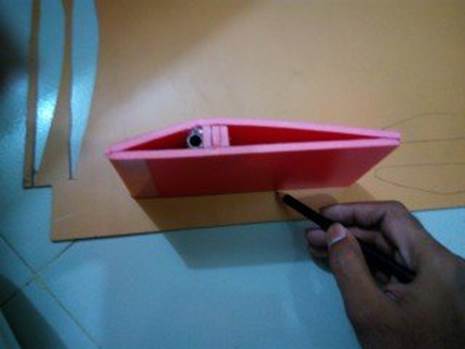
Step -01 ( Start with the Horizontal and Vertical Stabilizers )
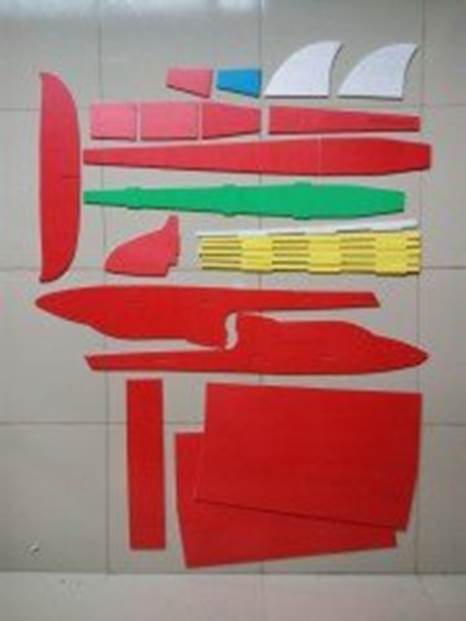
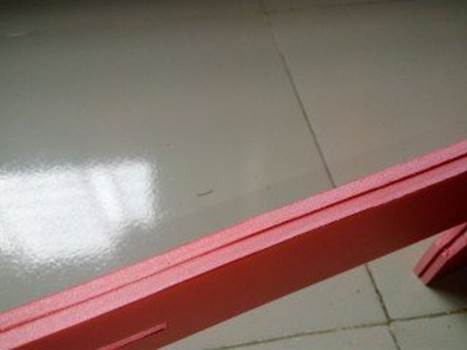
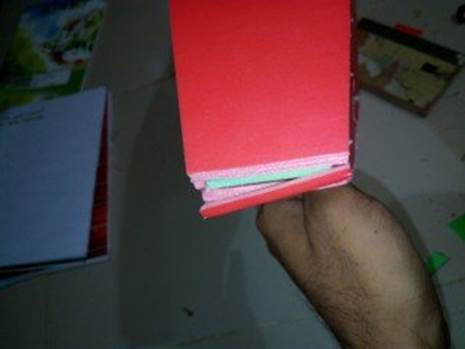
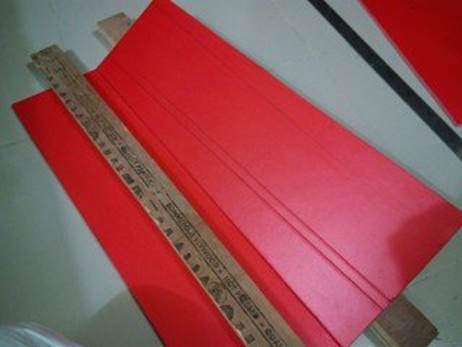
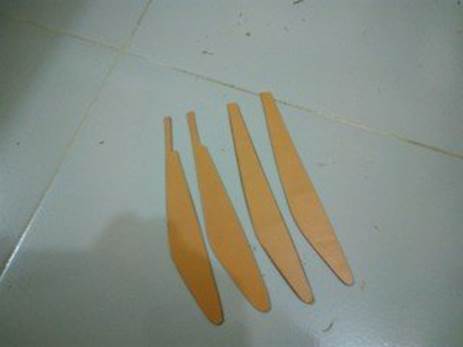
Get your pieces ready at first .
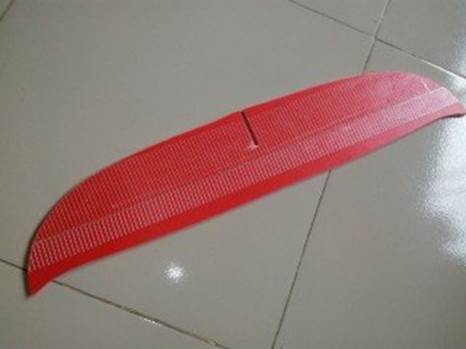
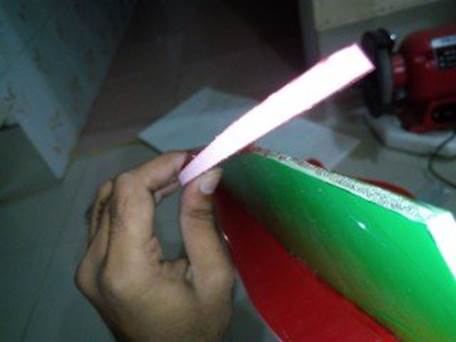
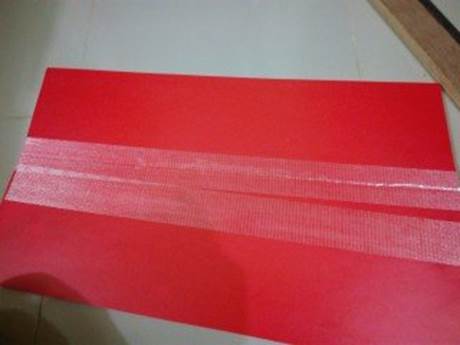
Tape the hinge line of the H.Stab
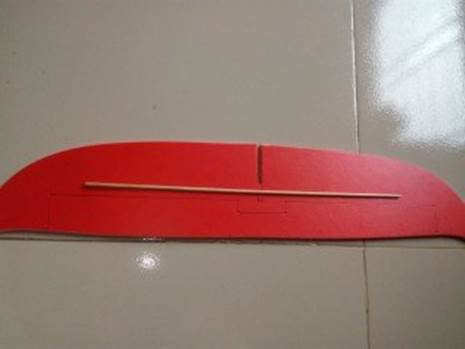
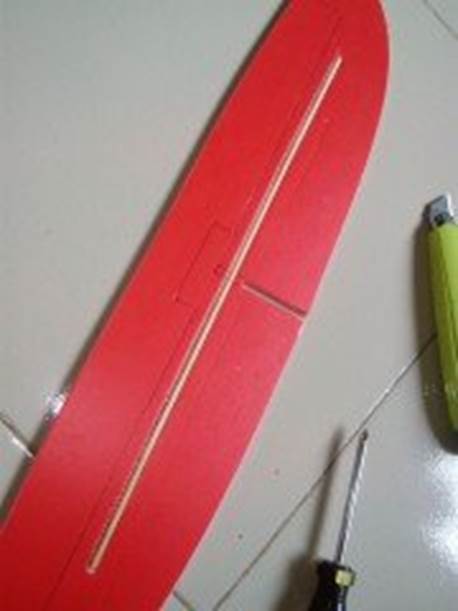
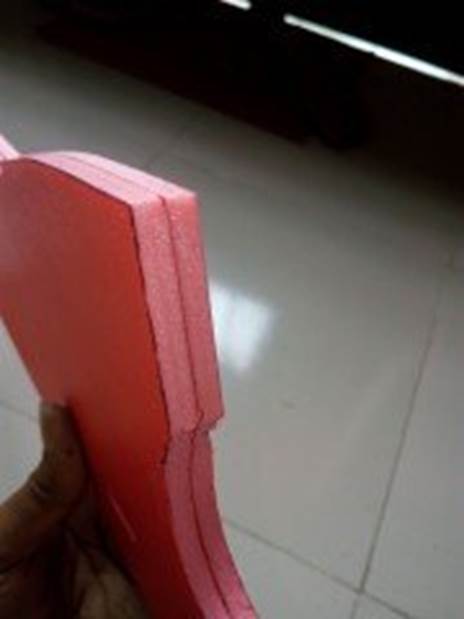
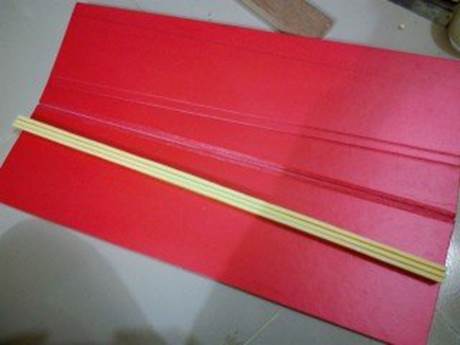
Place your BBQ Stick Spar and have a mark.
Cut a channel to nest your spar inside.
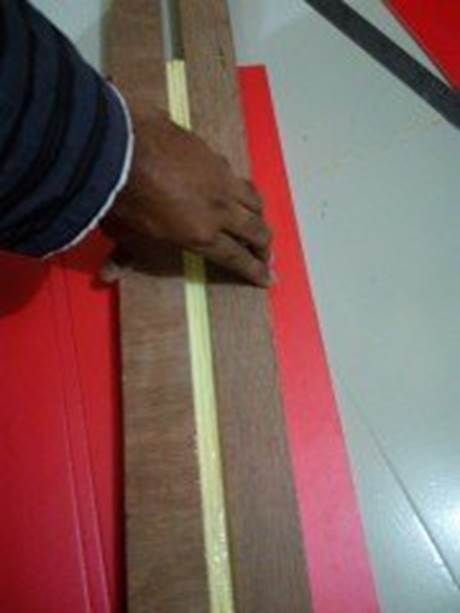
Test fit your stick
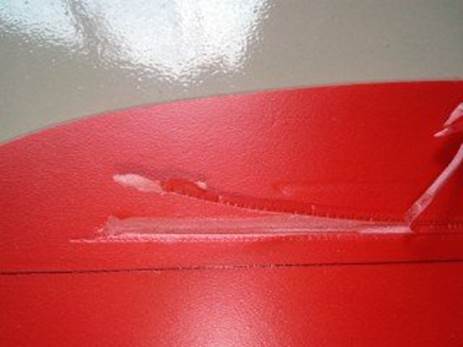
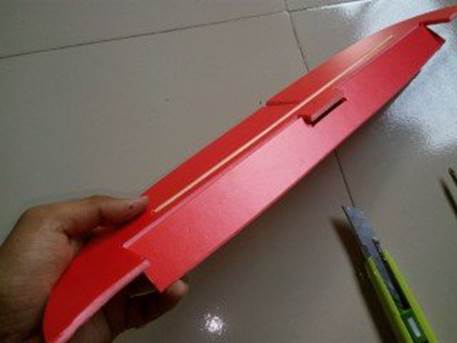
Make the elevator part.
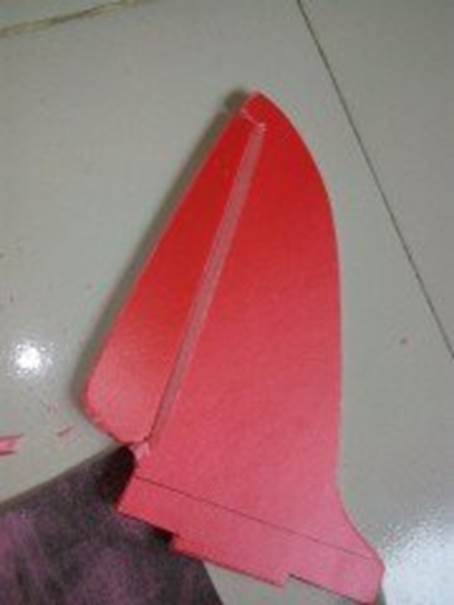
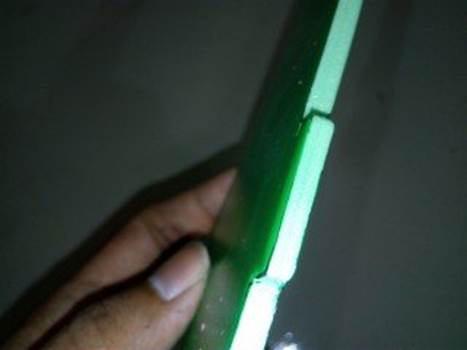
Prepare your V.Stab.
Use hotglue finally and press it on a flat surface untill the glue dries,
Check for any unexpected bends. No ! Looks like It's ok.
Step -02 ( Main Fuselage Construction )
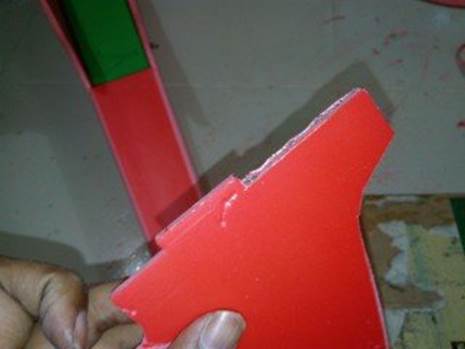
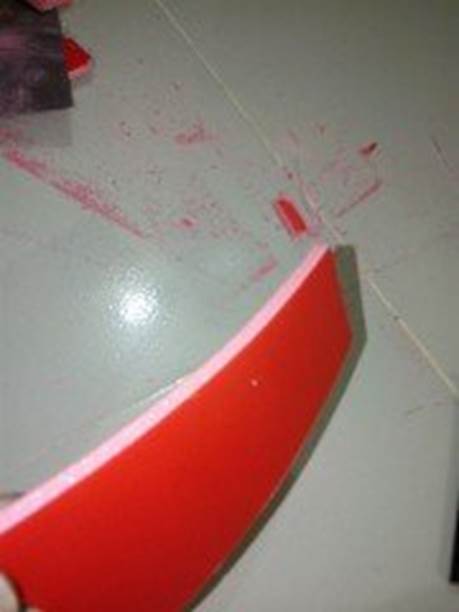
Align your two side fuselage parts to know about the mismatches of two shapes. If it is ok, step forward. If you find any issues, use a 320 sandpaper to fix it. But don't abuse foams to make it good looking. You can do that later.
See the shape differences of two pieces.
After sanding, it looks good.
Be carefull while sanding the motor mount area. If you mistake, the mounting angle will be changed.
Take the fuselage deck part and squeeze the notches with your fingertips gently.
Test fit with a side part and start gluing from the tail area to the nose. Take your time, don't hurry here.
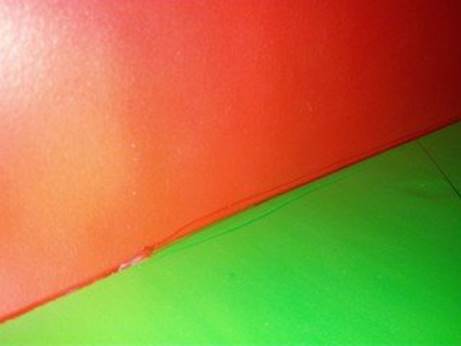
the joining gaps are filled with hot glue.
Wiping out the excess glues.
Be carefull about the alignments on both ends of the deck.
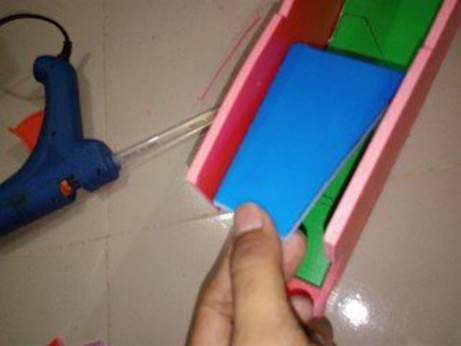
Now we will join the "Top fuse cover (rear)". We need to keep the shape and then apply glues. To do that- place a scrap small piece of 5mm depron inside the H.Stab slot. Then test fit the covering part & glue it gently. Try to use less glues as you can. So that, if you make any mistakes, you have the option for clean corrections.
viewing from the rear of the fuse. A small piece is placed inside the gap.
Viewing from the top.
Part -04 has been attached,
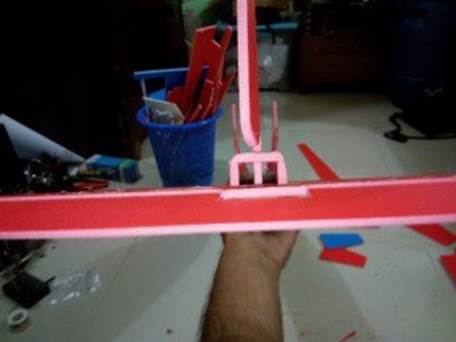
I always recommend to test fit everything before you apply glue. This time I am gluing the V.stab.
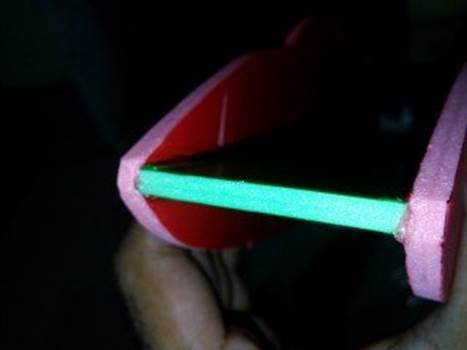
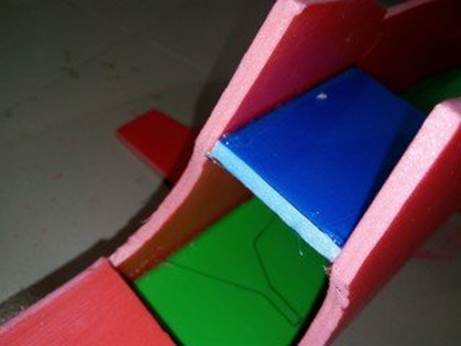
When you test fit check where you need to glue.
The notch of the V.stab should be visible from the outside, if you look through the H.Stab slot.
Insert your H.Stab, check the alignment with main fuse. Then glue it.
Alignment is perfect !
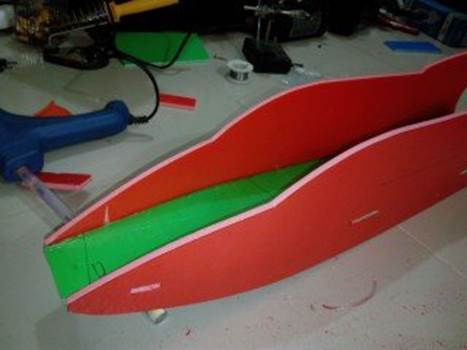
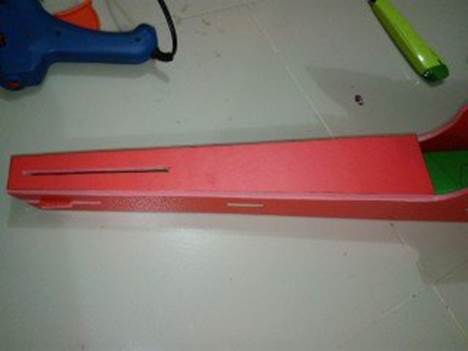
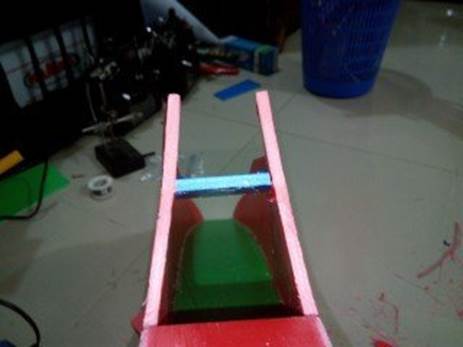
Take the Bottom Fuse Part -01 . Bend it with your tools and start gluing from the nose. Continue with other bottom parts also.
The bottom fuse is being covered step by step.
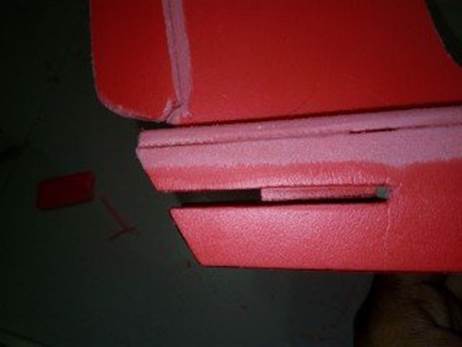
Glue the sharp bending areas at last & don't force.
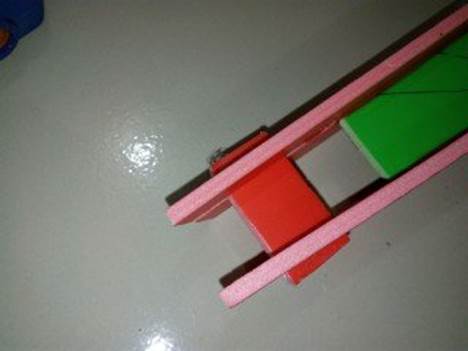
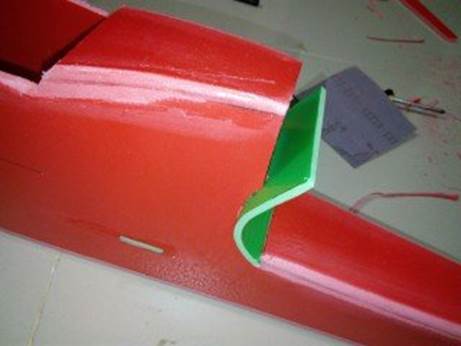
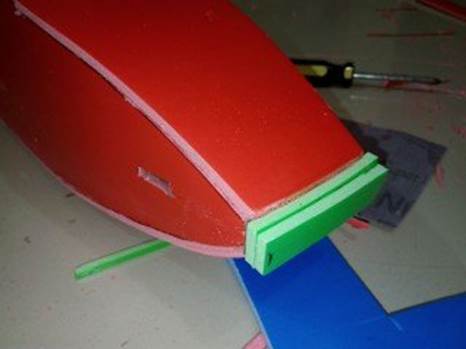
Take the part named "motor mount cover" and place it according to the image,
Take another "Motor mount cover" part and do some bends. Cover the motor mounting box. trim the excess parts.
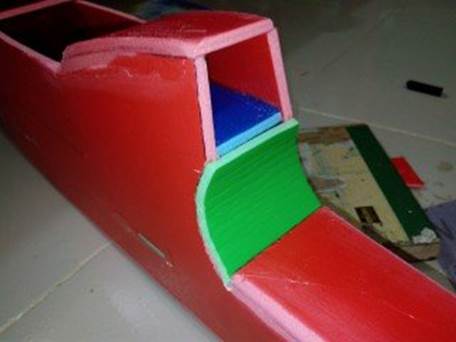
Then glue "Top Fuse part" -01 & 02.
Use this technique to make this cover. At first take a small piece, bend it & glue it. Then keep your needs and trim the rest.
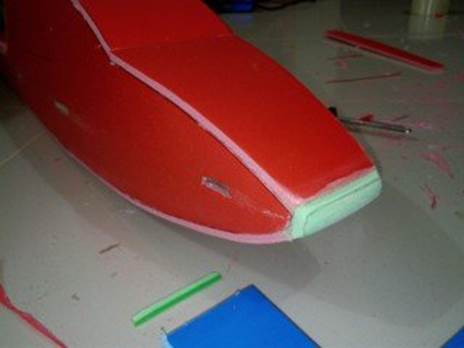
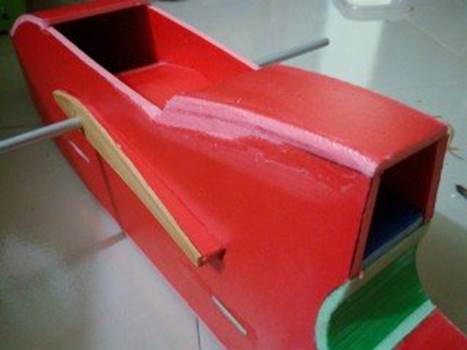
Nose section finishing.
Done !
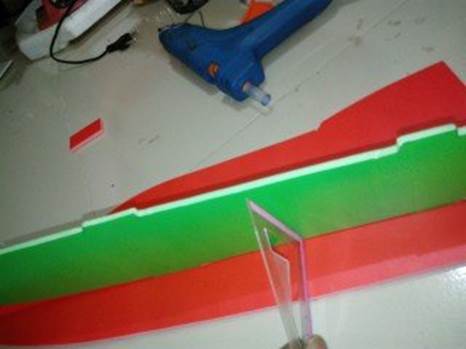
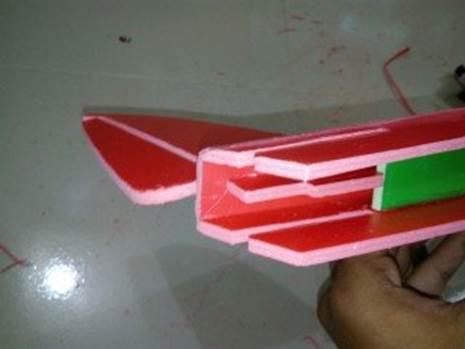
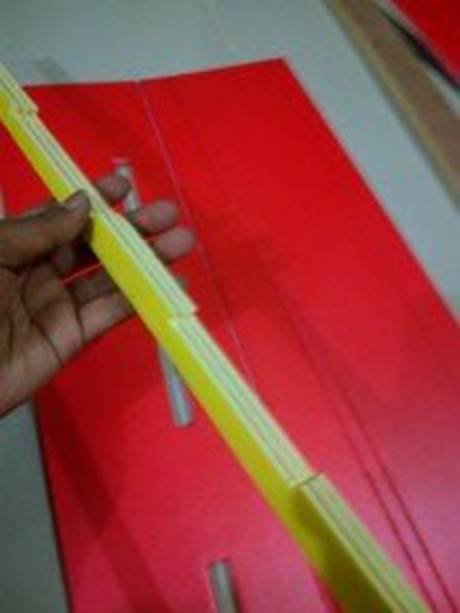
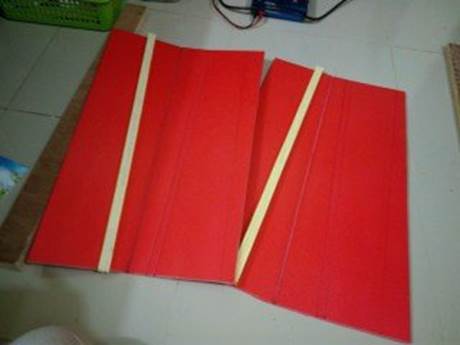
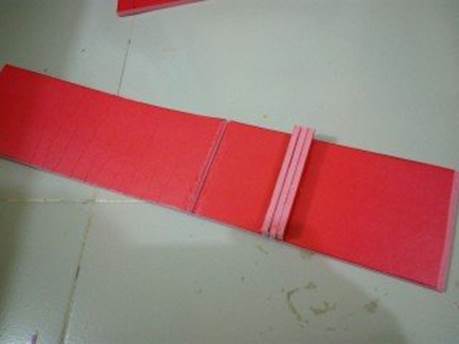
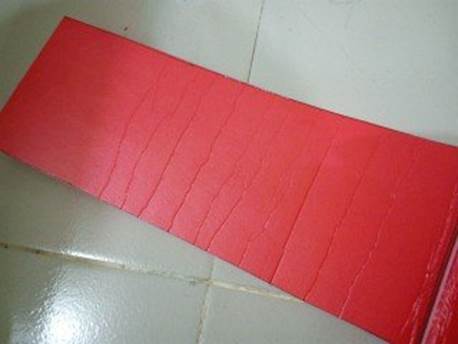
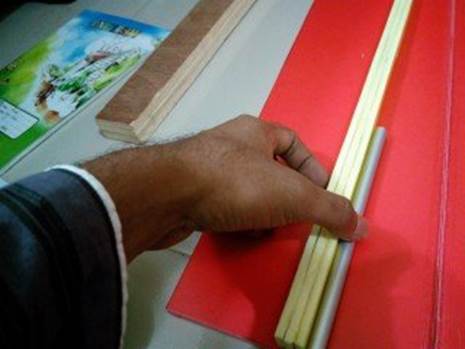
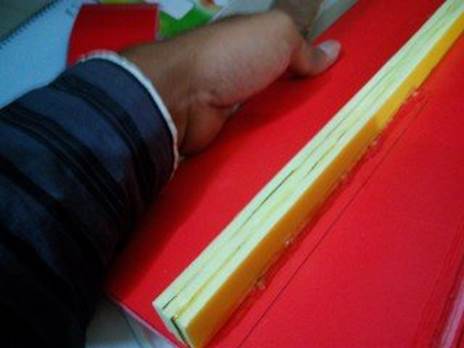
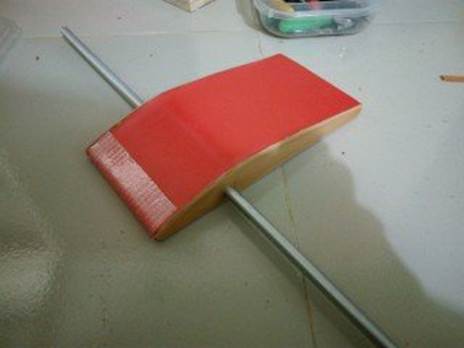
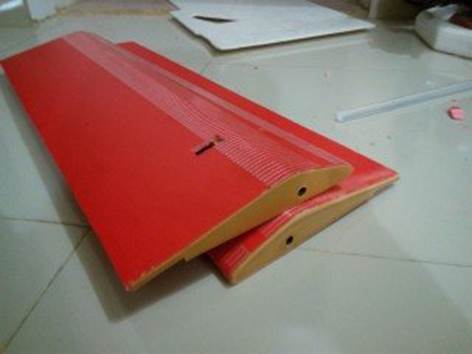
Step -03 ( Wing Construction )
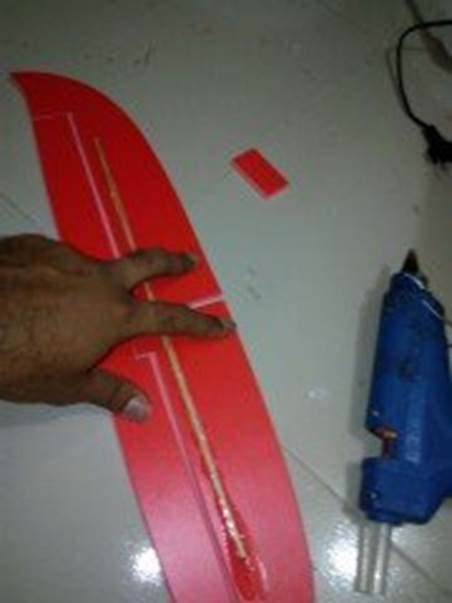
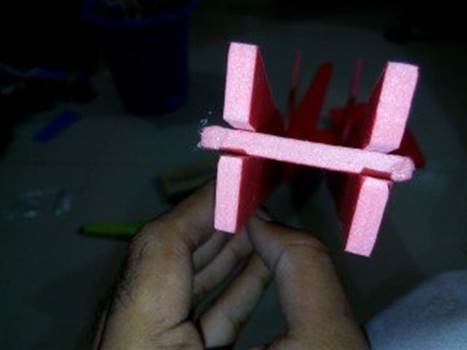
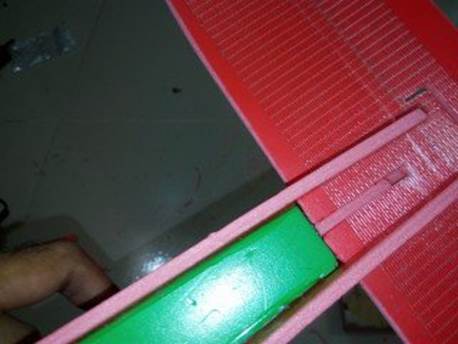
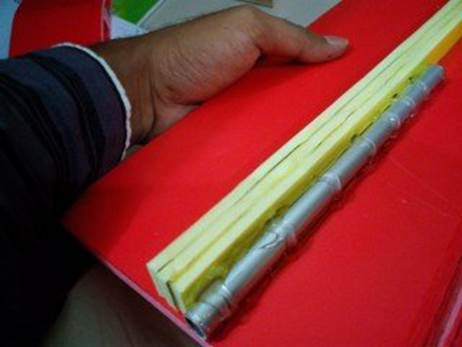
Test fit all the spars(Yellow parts in the images) then apply hotglue layer over that. The take out the spars and join them fixed with the wing. Don't sandwich glues inside the spars. That will be messy.
Building the middle section of the wing.
continued.
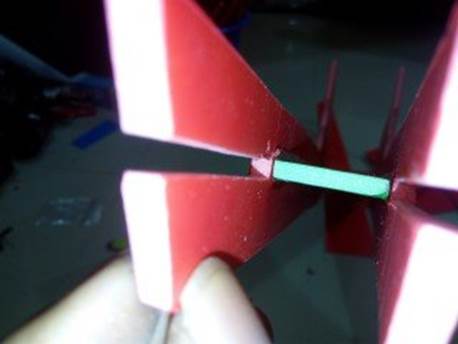
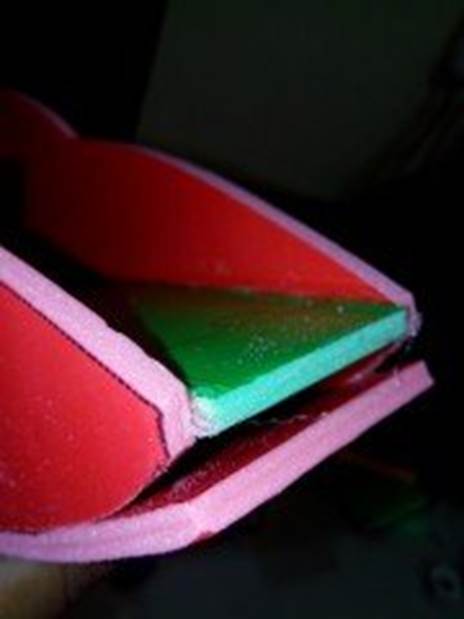
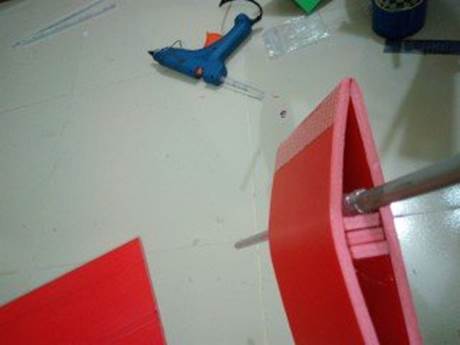
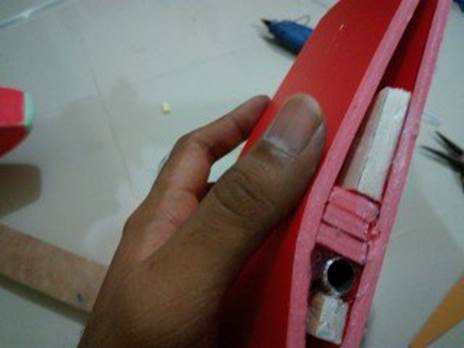
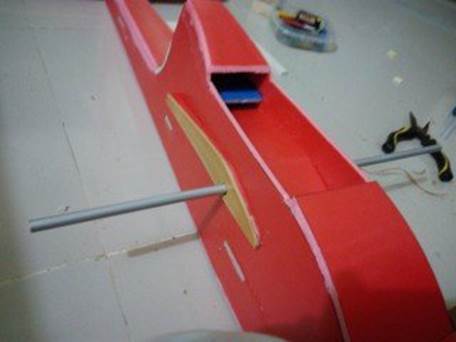
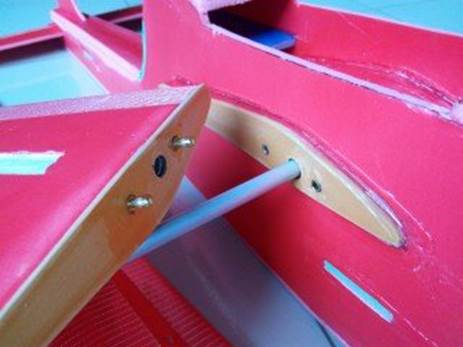
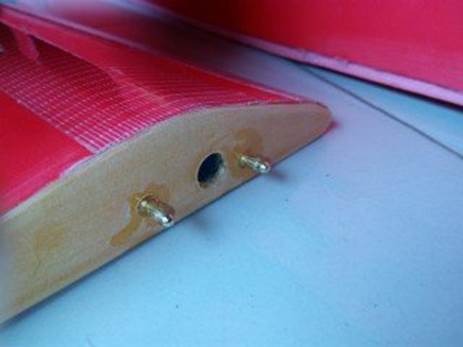
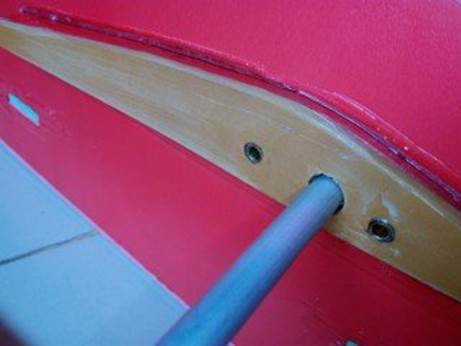
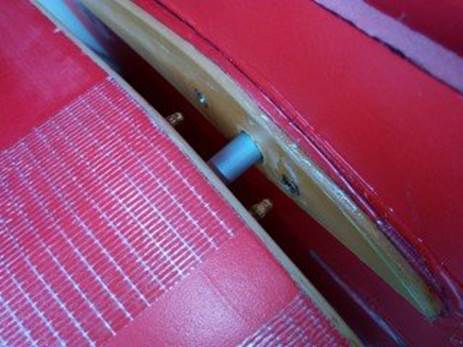
A 10mm Aluminium hollow rod (3.5inch long) has been placed inside to guide the main 8mm rod. That will work as a bridge between the two wing halves. I have used one spar and gold connectors ( you will this below images ) to stop the rotation. But that takes more effort to keep the wing alignments unchanged. The length of the 10mm rod on the wing halves is not crucial. Get an idea from the pictures below. You can use double 10mm rod here to guide two 8mm rods instead to save your times. Check the images how I did it with 3.5mm bullet connectors. You can add more creativites there.
I recomment to use this type of wood piece to press your wings when gluing togather. It is a very helpfull tool.
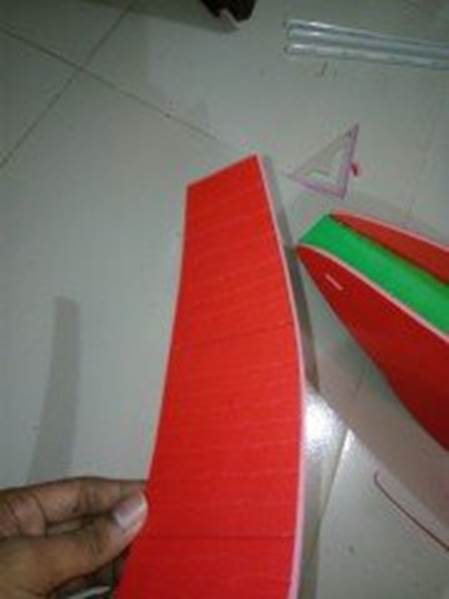
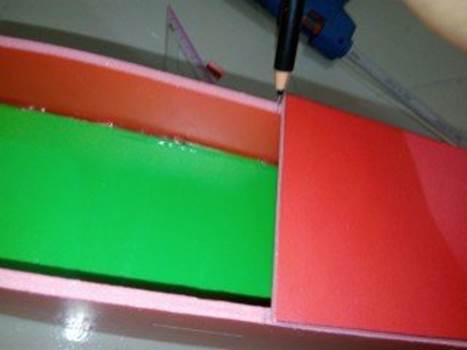
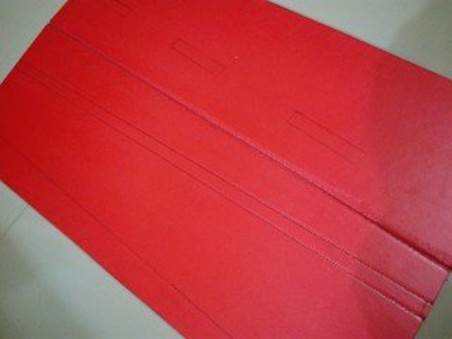
Tracing the airfoil shape of the wing middle part on a 2mm PVC board,
Pieces are ready.
Use some balsa. No problem at all if you don't use.
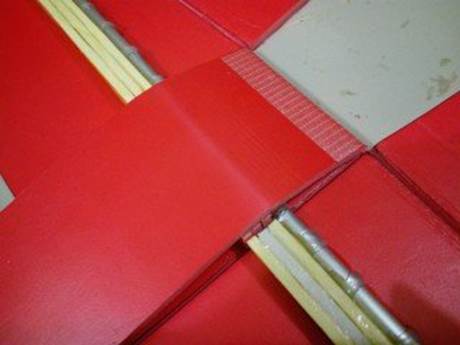
There is a mark on the fuselage side parts to place your wings. Place your wing middle part's leading edge & bottom of the wing( along the chord line ) aligned with the starting point of that mark.
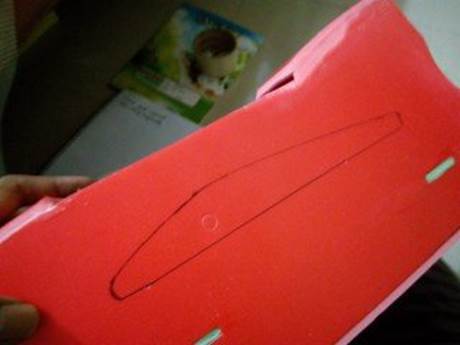
Trace the cutting area. We want to insert our wing middle part through the gaps. I didn't marked this in my pDF plan to avoid any errors caused by individuals.
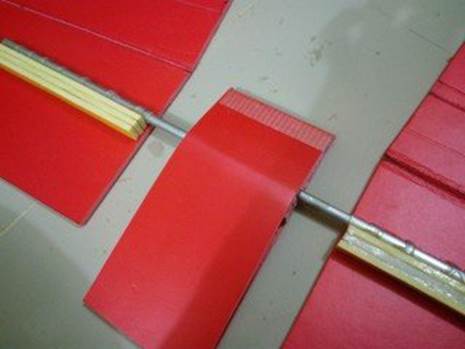
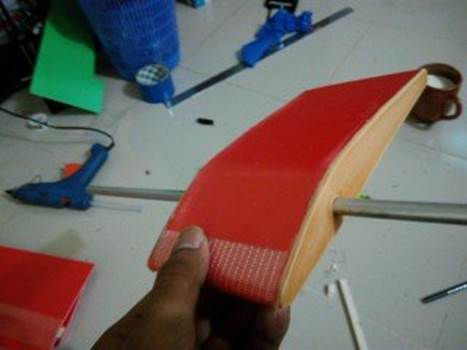
Insert the 8mm hollow rod through the part.
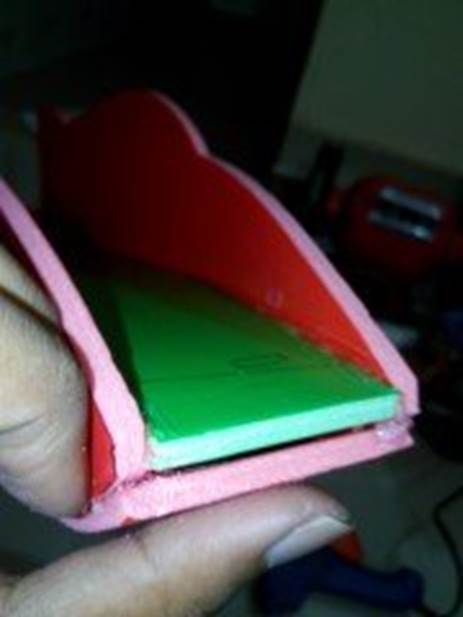
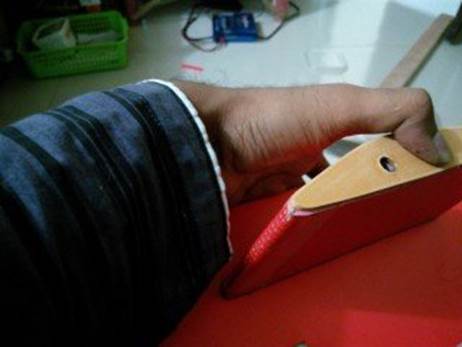
Watch from different angles,test fit the wings with it and check any alignment problems. Still we have the chance to fix it. Don't worry. :D When you have found the alignment problems, hold in the desired position and start gluing the wing middle part with the fuselage. And hold everything aligned until the glue dries up. Once it dries, all your tentions will be out. You will get a nice & cool looking fuse.
Have a look on them ! I modified the wing for wiring later. No problem. Not that hard to cope with..
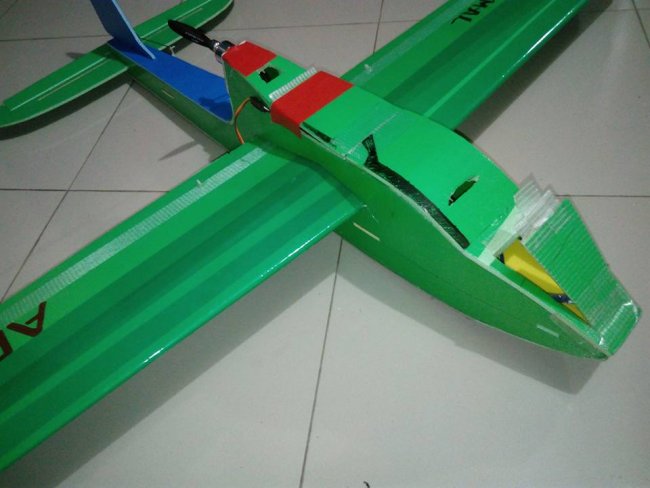
The uncovered area is used to pass your wires from different sections,placing your ESC, rx etc. This place is not for the battery. You need to cut a hatch in Top fuse part -01 to house your 2200mAH lipo. The plane needs to be balanced under the wing spar.
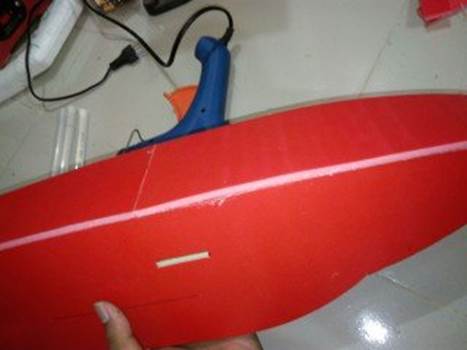
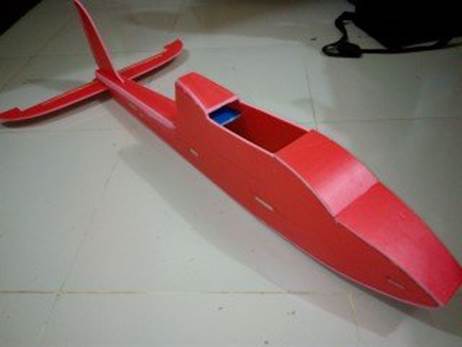
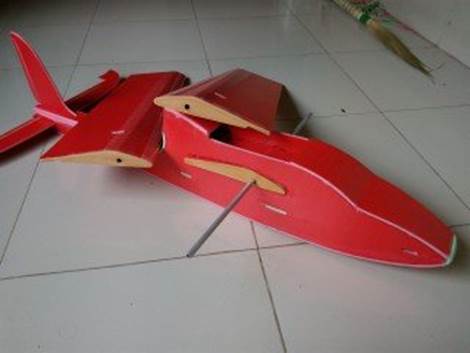
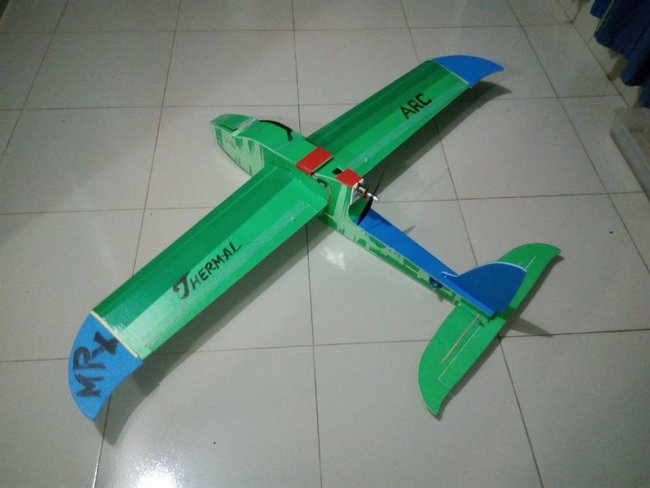
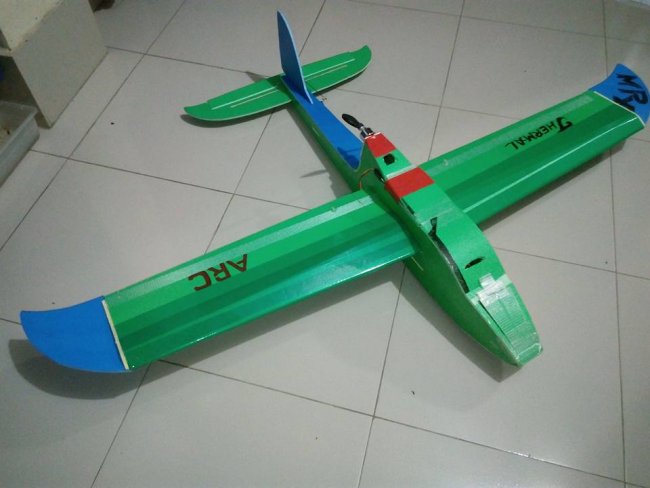
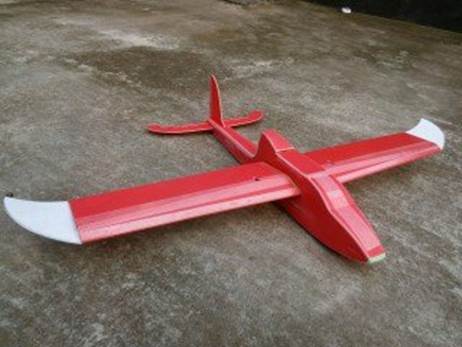
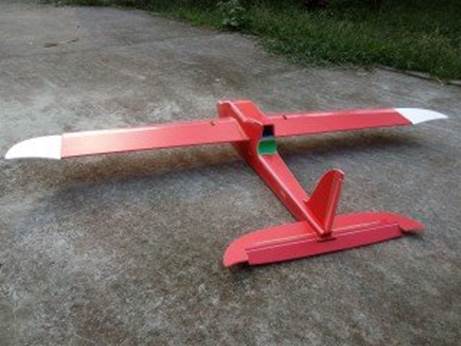
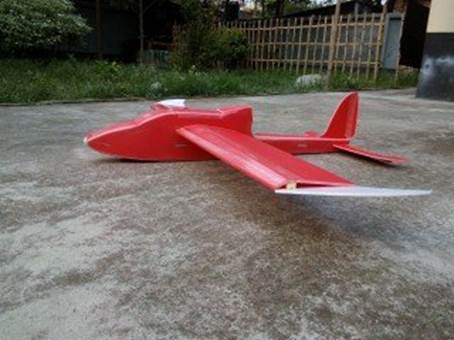
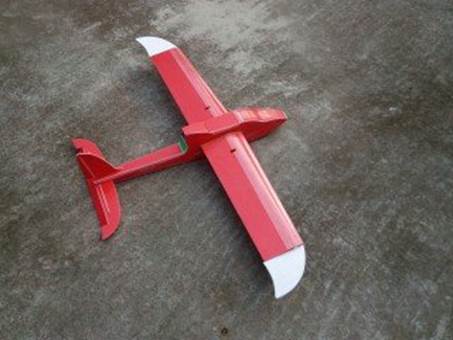
My first build.
My first build.
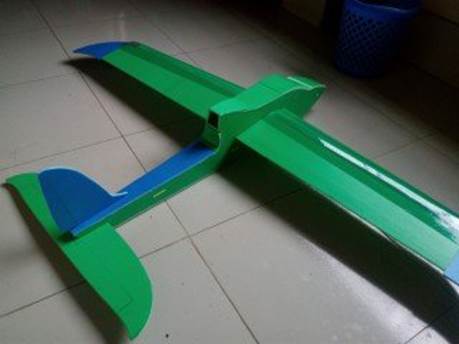
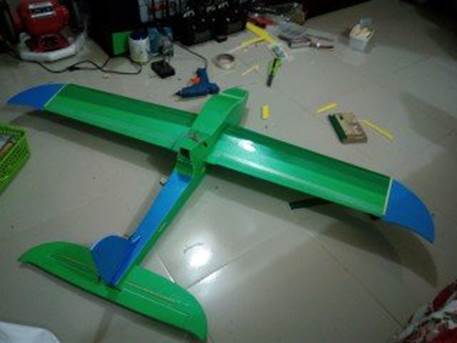
The basic tasks are completed. Now you can plan your wiring and servo slots, aileron areas. You can do it now-no problem. Nothing is fixed. There is always a chance for everyone to choose. But one very important thing.., when you throw the plane in air- it has a tendency to dive down. So keep your throwing angle a bit greater than others. I found this problem in real Bixler too. Don't worry, it will fly fine. That's not a problem.
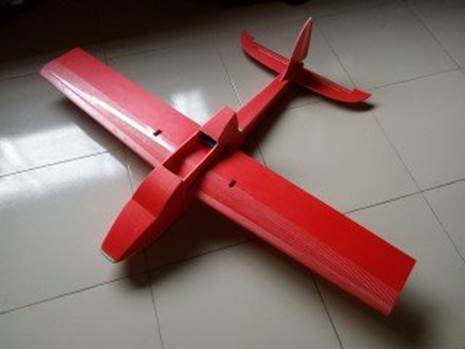
As this is my first CAD design I apologize from you that I couldn't give you a 100% plan of this bird. I struggled with my skill and times. But all major parts have been included and test fits are done. This is my favourite plane right now. Ask me if you have any questions. Comment your opinions and let this work to be shared with others.
Excellent presentation and subject ! I've been building since 1952 , wish i had your instruction in my day. I've got my foamboard and hot glue, so , ready to start ! Thanks so much !
RC Airplane - MAGNIFICENT ADAM 500 - starting the engines and flying- large scale The Adam A500 is an American six-seat civil utility aircraft that was produced by Adam Aircraft Industries